Crystal Clusters vs. Single Points: Which Specimen Should You Collect?
October 31, 2026 - Crystals
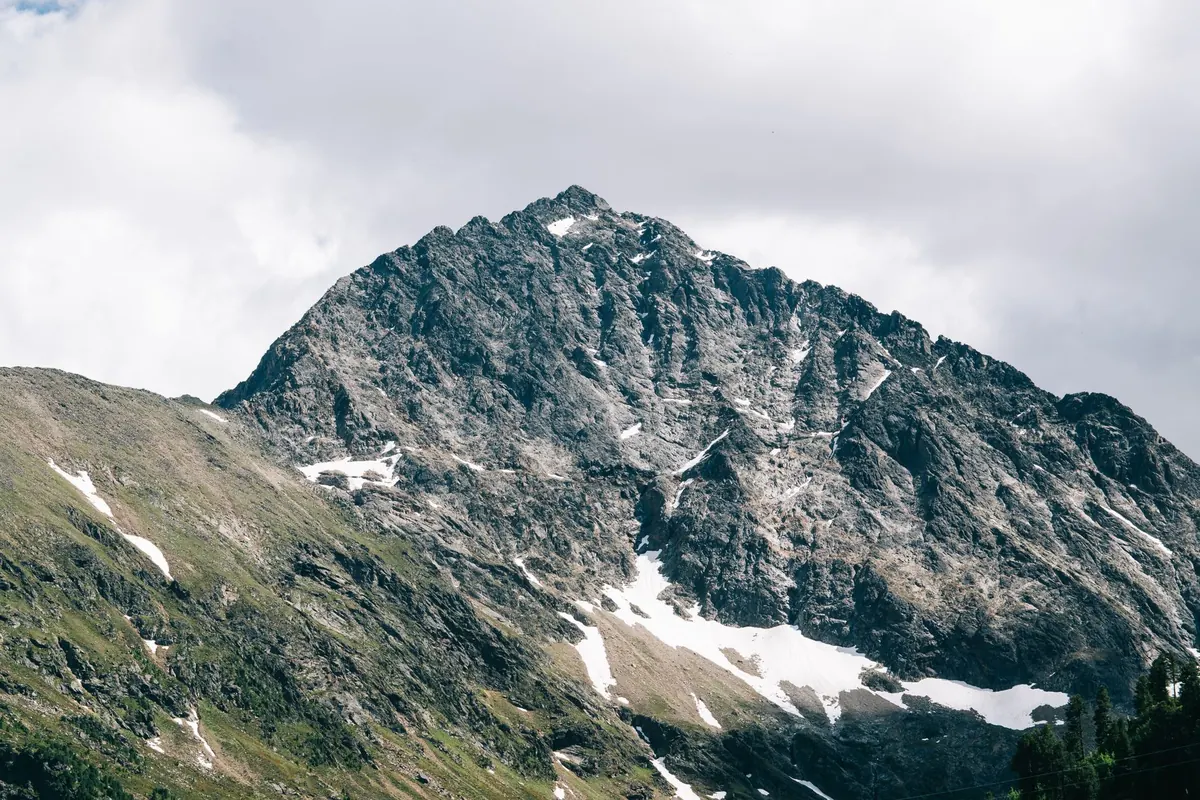
Two hundred metres above the tree line, a band of chlorite-rich clay sits in a turf-covered step in the slope. Nothing about it looks like a mineral locality. No white vein, no glittering outcrop, no obvious reason to stop. Yet this is exactly the kind of place where Alpine quartz is found: not on the surface of the mountain, but inside a fissure the mountain has been slowly opening and filling for tens of millions of years. Learning to recognise those places is a different skill from identifying crystals once they are in your hand. It is a skill of reading rock, slope, soil and scatter — and it decides whether a day out produces anything at all.
"Alpine-type" describes a family of mineralised fissures, not a single place or rock unit. You meet the same system in the Alps, the Urals, the Norwegian Caledonides, the Hindu Kush and parts of the Appalachians. What they share is a mechanism. During mountain building, competent crystalline rock was stressed and fractured. Open fissures formed, and hot aqueous fluids — silica-rich, at moderate temperatures — moved through them. Because there was open space, quartz could grow with free faces. That is why Alpine specimens arrive terminated and lustrous rather than as crushed vein filling.
The distinction changes how you search. Massive white quartz in a vein is often a poor sign: the space filled rather than stayed open, and any crystals are small and intergrown. What you want is the void — the cleft, the vug, the cavity — and the minerals that lined it. Experienced collectors spend more time looking at the walls of a prospect than at the crystals in it.
In the Alps, quartz clefts are typically hosted in the crystalline basement: gneisses, mica schists, amphibolites and metamorphosed granites. The best host is rarely uniform. Strain concentrates where a strong rock meets a weak one, so alternating units repay attention — a band of chlorite schist inside augen gneiss, an amphibolite lens in two-mica gneiss, a contact between a fine-grained and a coarse-grained member of the same complex.
Before you walk anywhere, buy the geological map for the area and spend twenty minutes with it. A folded or faulted contact between two crystalline units is a far better starting point than a random ridge, and the map will also tell you where the crystalline basement disappears under sedimentary cover. Limestone and dolomite host their own fissure mineralisation, but the assemblage is different — calcite, dolomite, sometimes fluorite — and the search logic does not transfer cleanly. Reading the map saves you hours of walking over rock that will never produce a terminated crystal.
Once you are on the ground, note a few things about every outcrop you pass:
Clefts are fractures that stayed open. They tend to be steep, often dipping between about forty and eighty degrees, and they usually belong to sets: several parallel fissures a few metres to a few tens of metres apart. Once you find one, look for its neighbours along the same trend before you start digging.
The walls tell you what happened. Slickensides — polished, grooved surfaces — indicate movement, and fibrous mineral growth across a fracture shows the direction of that movement. A fracture filled with sheared, crushed quartz is a fault and usually a disappointment: the crystals that once existed there are broken. What you want instead are comb textures, drusy linings, thin clay seams and iron staining that has not been disturbed. Those are signs of a cavity that survived.
In the Alps, the crystals are rarely where the quartz is thickest. They are where the rock last stayed open.
Most first discoveries are not made at the cleft. They are made in the loose material below it. When a fissure weathers out, its contents spill downhill and form what Alpine collectors call crystal soil: a residual clay, often chloritic, carrying fragments of quartz, feldspar and host rock. Trace that material upslope and it will narrow like a funnel until it ends at the source.
Companion minerals tell you what kind of cleft you have found and how fresh it is likely to be. Adularia, the low-temperature potassium feldspar, is a classic associate and often appears as small white crystals or as a dull white coating on the walls. Chlorite gives the green tints and inclusions that Alpine quartz is known for. Epidote, hematite, rutile, apatite, titanite, fluorite, calcite and zeolites all turn up in different settings, and their presence or absence is a decent hint about temperature and chemistry.
Smoky quartz is common in and around granitic rocks and is often linked to natural radioactivity in the host, though it is unwise to treat that as a rule for every outcrop. Amethyst is comparatively scarce in the Alps and rarely abundant where it does occur. Oxidised pyrite and marcasite stain the clay and the crystals, and a strong iron stain is not a bad thing: it often means the cavity was sealed for a long time rather than flushed out.
A crystal in the hand answers questions the outcrop could not. Growth zoning, a milky core under a clear tip, or a sudden change in size along one prism face all record a change in the fluid. A sceptre — a second, wider crystal grown on the tip of an older one — points to a pause and a renewal of growth. Twisted gwindel forms are their own story about slow, confined growth in a tight fissure.
Damage matters too. An old break, coated with clay or partly healed, happened in the cleft long before you arrived. A bright, fresh break is recent, and it is worth asking whether it was the weather, a rockfall, or a previous collector working carelessly. Being honest about this makes you a better field observer, and it keeps your records useful.
Good days in the mountains come from routine rather than luck. Check who owns the land and whether collecting is allowed before you leave the car — much of the Alpine terrain is protected, and national park and nature reserve rules frequently prohibit removing minerals altogether. Ask the landowner or the local authority where it is not obvious, and accept a no without argument. These rules exist because popular localities have been stripped bare within a season.
Carry a small bar, a crack hammer, goggles, chisels, newspaper and separate bags for specimens and for clay. Dig carefully and keep the hole small; backfill the turf and rubble when you finish, and leave the site looking like a place where nothing happened. Work with a partner on steep ground, watch for rockfall, and turn back when the weather changes rather than when it has already changed. Record the locality, the host rock and what came out of the clay — even for pieces you leave behind. The notes will be worth more than the specimens in a few years, and they are the only part of the day you cannot replace.
Photo: Brian de Karma / Pexels
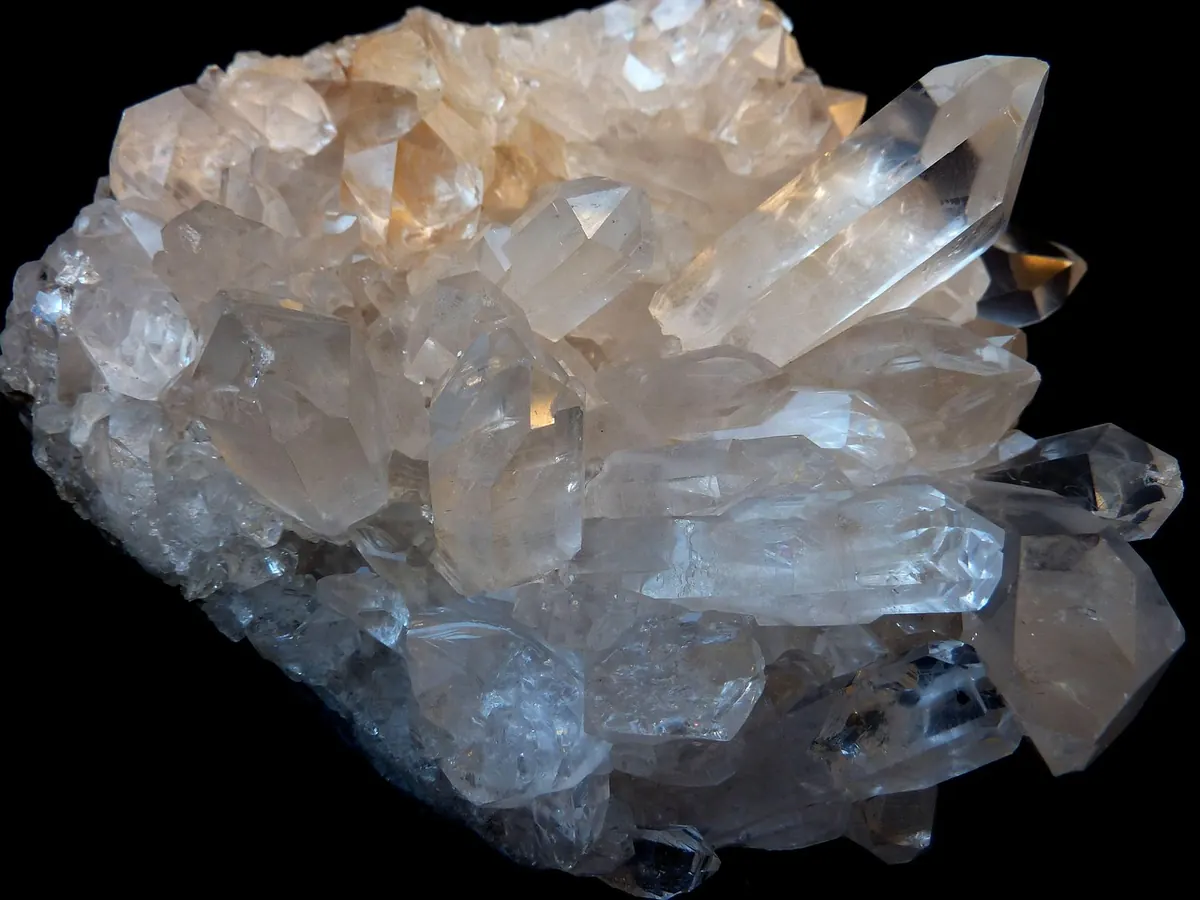
Clusters bring drama, context and a story about how crystals grow; single points bring clarity, easy display and a...

Mohs hardness testing can identify minerals and narrow unknowns, but only if scratches are made on inconspicuous...
Copyright © 2026 Quarzo Diario. All Right Reserved.