Crystal Clusters vs. Single Points: Which Specimen Should You Collect?
October 31, 2026 - Crystals
The first warm week after the snow goes is a strange, generous time to be out. The ground is still cold a few inches down, the creeks are loud, and every plowed edge and gravel bar looks different than it did in October. Frost has been working all winter — lifting, cracking, pushing stones toward the surface — and meltwater is now stripping the fines away. For a mineral collector, that combination opens a window of a few weeks when material that was buried last fall is suddenly lying in plain sight. Miss it, and you will spend the summer digging through vegetation to reach what spring handed over for free.
Freeze-thaw is slow, patient geology. Water works into seams and pore spaces, expands as it freezes, and prises the rock apart from the inside. On fine-grained soils this produces the familiar frost boils: bare circles of damp earth with small stones pushed up through the surface like raisins in a loaf. On bedrock it widens joints, loosens plates, and drops fresh blocks onto talus slopes that were stable all winter.
Then the meltwater arrives. High spring flows scour banks, move gravel, and sort material by weight and size. Heavy, hard minerals — garnet, magnetite, corundum, cassiterite, whatever your local geology offers — tend to settle out on the inside of bends, behind boulders, and in the lee of old logs. Meanwhile, saturated banks slump. A metre of soil that sat tight for a decade can slide in an afternoon and leave a clean face of material no one has seen before.
The other gift is visibility. Without leaves on the shrubs and without last year's grass standing tall, you can see the shape of the ground: the washed-out ditch, the quartz vein running across a cut, the scatter of freshly broken rock below a ledge. All of that disappears by June.
Ignore the calendar and read the landscape. South-facing slopes and low valley bottoms clear first, often two to four weeks before north-facing benches at the same latitude. Start low, then follow the melt upward as the season progresses. A ridge you cannot reach in April is usually walkable in early June.
Go out in the morning, not at midday. Overnight frost stiffens the surface just enough to carry your weight, and you will do far less damage to wet trails and freshly thawed soil. By early afternoon the same ground is grease.
Watch for the false thaw. A warm spell can leave a soft, dark layer of mud sitting on ground that is still frozen solid underneath. You will find yourself postholing through crust, and any digging you do will be into a rock-hard pan. If your probe stops dead at the same depth everywhere, give it another week.
Fresh exposure has a look. Wet, dark, unsorted gravel with clean angular faces is new; grey, mossy, rounded material has been sitting for years. Broken crystals with sharp terminations and no lichen or iron staining are recent arrivals. A scatter of light-coloured chips below a small scar in a ledge tells you where they came from.
A fresh cut bank is a loan, not a gift. It will slump, wash and revegetate within a season, so take photographs and notes while the face is still open.
Spring is the most hazardous season in the field, mostly because the ground lies to you. Solid-looking banks are undercut by meltwater. Creek crossings that were knee-deep in August are chest-deep and fast. Snow bridges over gullies can hold on until May and then fail without warning. High country still carries avalanche risk long after the valleys are green.
Old workings deserve their own caution. Never enter an adit, and never lean over a shaft to peer in. Timbers rot, openings are hidden by vegetation and thin crusts of snow, and bad air in workings is not something you can see. Stay on the dump.
Tell someone your route. Carry spare socks and a warm layer, because wet feet in cold wind turn a good day bad quickly. Keep gloves on when handling rough rock, and wear eye protection whenever you swing a hammer — chips fly further than you expect. If you are unsure about access, permits, or collecting limits, contact the managing agency or landowner before you go. Rules vary by country, region and even by individual site, and it is much easier to ask in advance than to explain afterwards.
You do not need much, but you need it dry. A packable waterproof layer, a small first-aid kit, a map and a charged phone, a rock hammer, two chisels, a hand lens, safety glasses, gloves, newspaper or bubble wrap for wrapping specimens, a bucket, and a marker to label bags with the date and location. Trekking poles are worth the weight on greasy slopes; they save more ankles than any boot.
Good habits matter as much as good tools. Do not undercut banks or dig into their faces for the sake of one specimen. Fill the shallow holes you make, backfill test pits, and leave the site looking like you were never there. Where collecting is regulated, take only what you can carry and use.
Plan a short season rather than a long one. For your first outing, pick a low-elevation creek with good access and walk two kilometres of gravel bar, looking rather than digging. Photograph anything interesting with something for scale, note the location, and take home only what you can identify or reasonably suspect.
For the second trip, follow the thaw upward to a cutbank or road cut you noticed on the first. Work the fallen material at the toe, not the face. For the third, revisit your best site after a good rain — a week of fresh runoff often uncovers what your boots and hammer could not. Keep a simple log: date, site, what you found, what the ground was doing. After two or three springs you will have a record that tells you, better than any guidebook, exactly when your own ground opens up.
Photo: WenPhotos / Pixabay
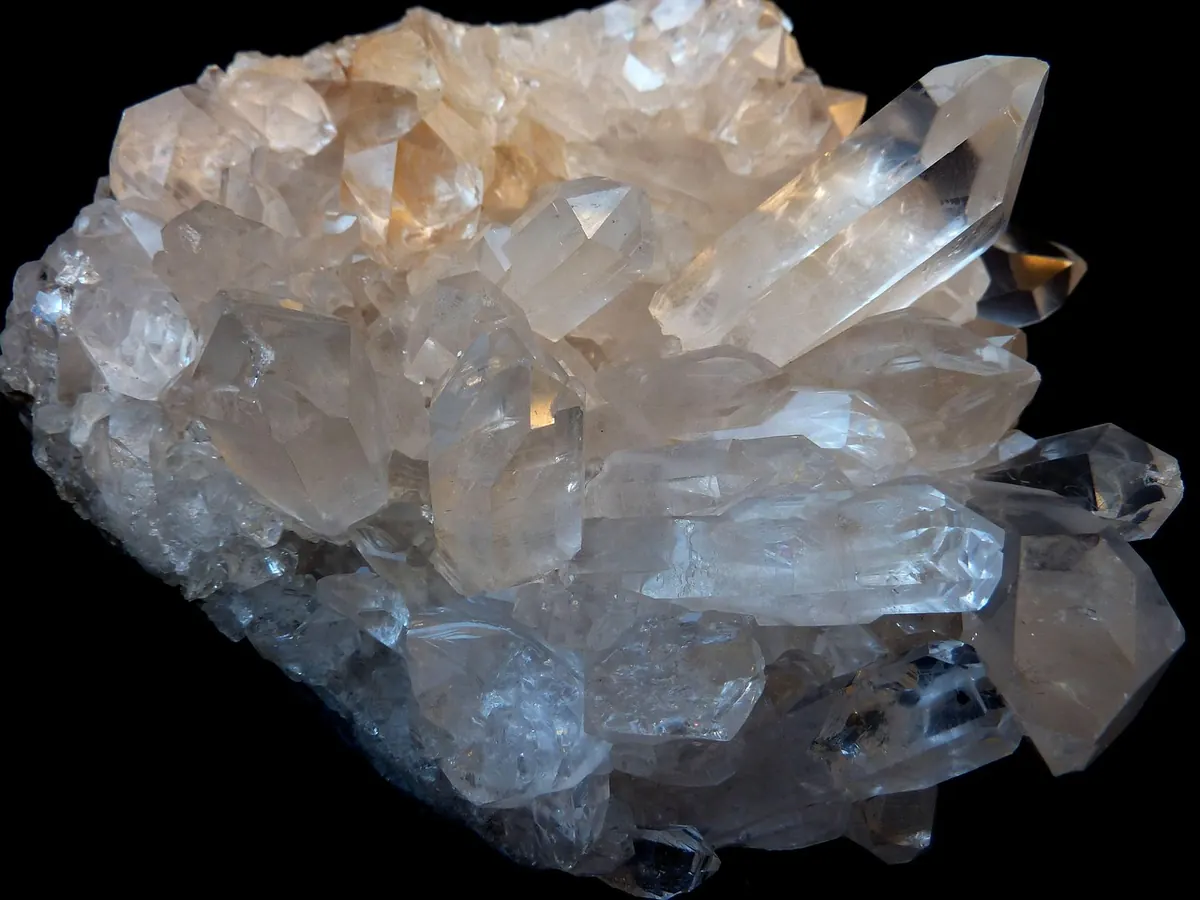
Clusters bring drama, context and a story about how crystals grow; single points bring clarity, easy display and a...
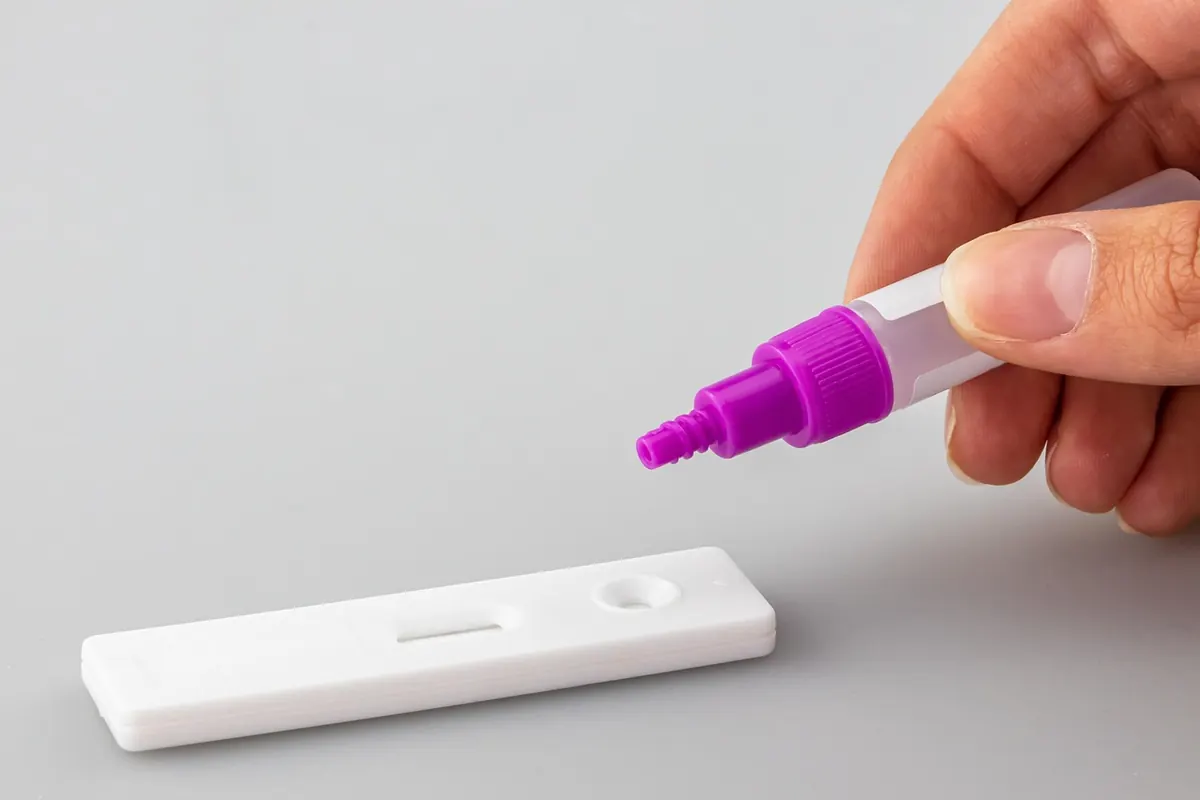
Mohs hardness testing can identify minerals and narrow unknowns, but only if scratches are made on inconspicuous...
Copyright © 2026 Quarzo Diario. All Right Reserved.